Here I am typing up a post when I should clearly be starting on my exam preparations. Yes, analyse the choice of words carefully and feel sorry for me. Anyways, I have gotten hold of a new case for my computer. When I first saw the case, I was really pleased with the design. I thus decided that it is about time to get rid of my previous not-so-good-looking case and migrate my stuff over to a sleeker looking one. The case I am talking about is the NZXT Phantom. It recently reached the shores of my fine country and I had just purchased it. With the SwiftWorld in mind, I decided to venture into hardware reviewing and yes this is my first time reviewing a computer case so do spare me if I covered something inadequately.
I have to admit that I am not too prepared for this review as evident in the lack of proper photos to showcase the case. All I have is a fully built computer and photos to try show the different parts of the case. But anyways without further ado let us proceed on with the review. (Do use the table of contents below to jump to specific areas of the review)
[toc]
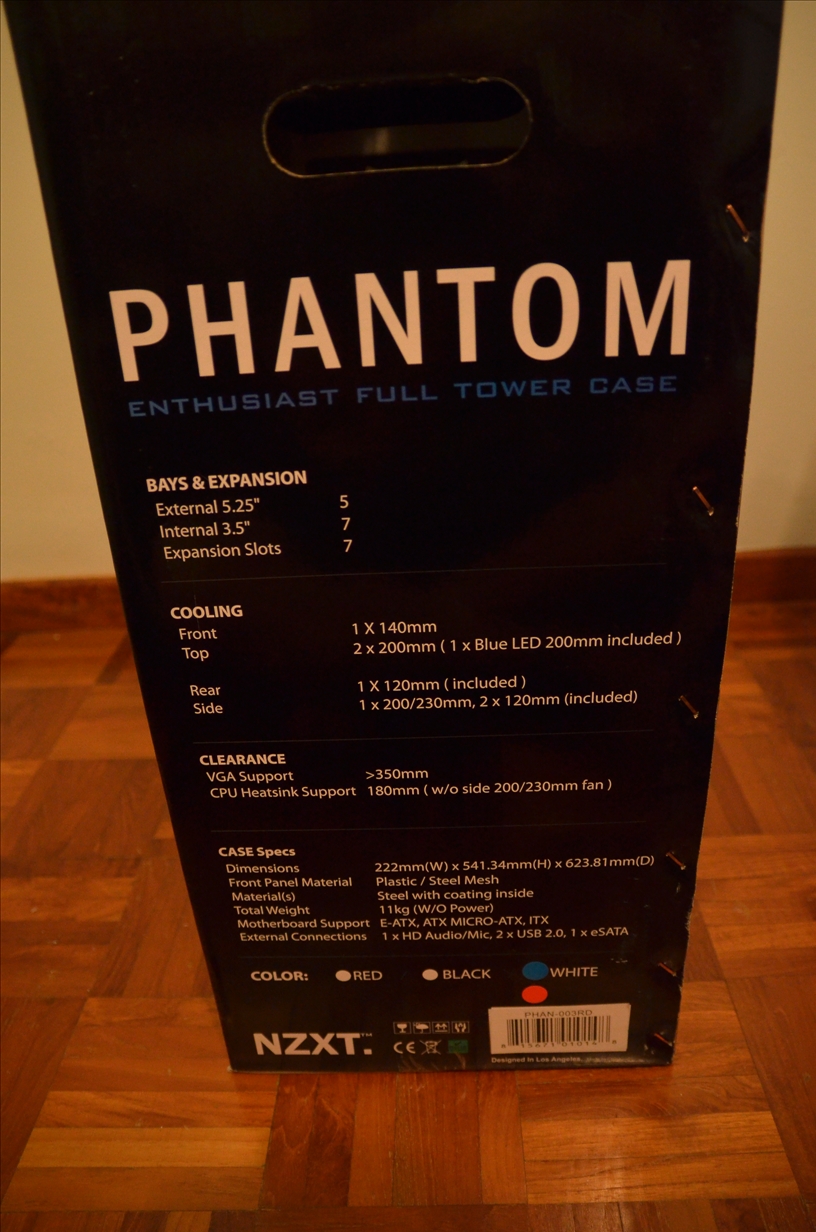
Basic Information: Specification, Pricing and Retail Packaging
| Manufacturer | NZXT |
| Model | Phantom Series |
| Case Type | Full Tower |
| Colours Available | White, Red, BlackSpecial editions White-red, Black-orange, Black-green |
| Materials | Steel and Plastic |
| Dimensions (W x H x D) | 222 x 540 X 623 mm |
| Weight | 11kg |
| Motherboard Support | E-ATX, ATX, MICRO-ATX, ITX |
| VGA Clearance | 350mm |
| CPU Heat Sink Clearance | 180mm w/o side 200mm fan |
| Cooling System | FRONT: 1 X 140mmREAR: 1 X 120mm (included)
SIDE: 2 x 120mm, 1 x 200/230 (2 x 120mm included) TOP: 2 X 200mm (1 x LED 200mm included) |
| Drive Bays | 5 EXTERNAL 5.25″ DRIVE BAYS 7 INTERNAL 3.5″/2.5″ Slots |
| Expansion Slots | 7 |
The price of the NZXT Phantom varies from country to country. Here in Singapore, you can get either the special edition or the normal one at a recommended price of $239 SGD. A quick search in newegg gives me the price of $139.99 USD. It is good to note that some of the versions are exclusives for that particular retailer for example the Black-Green edition cannot be purchased at newegg.
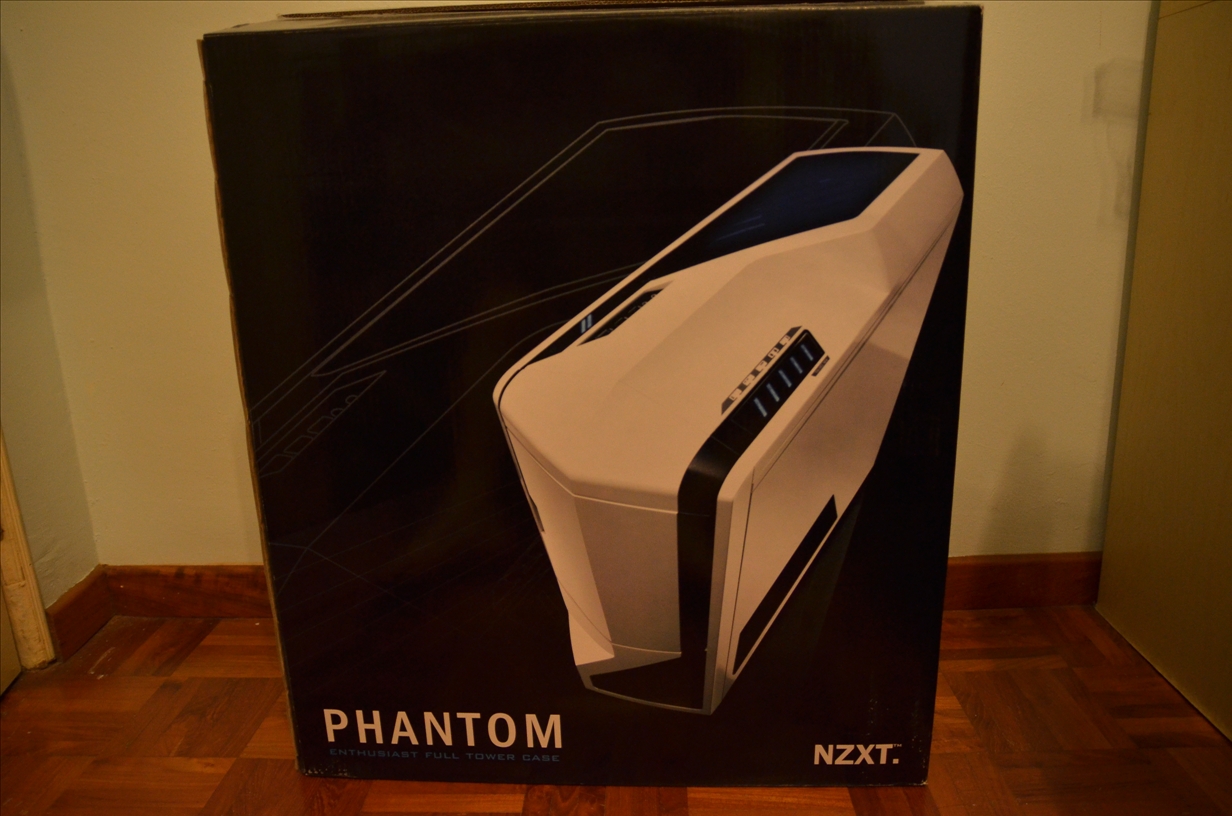
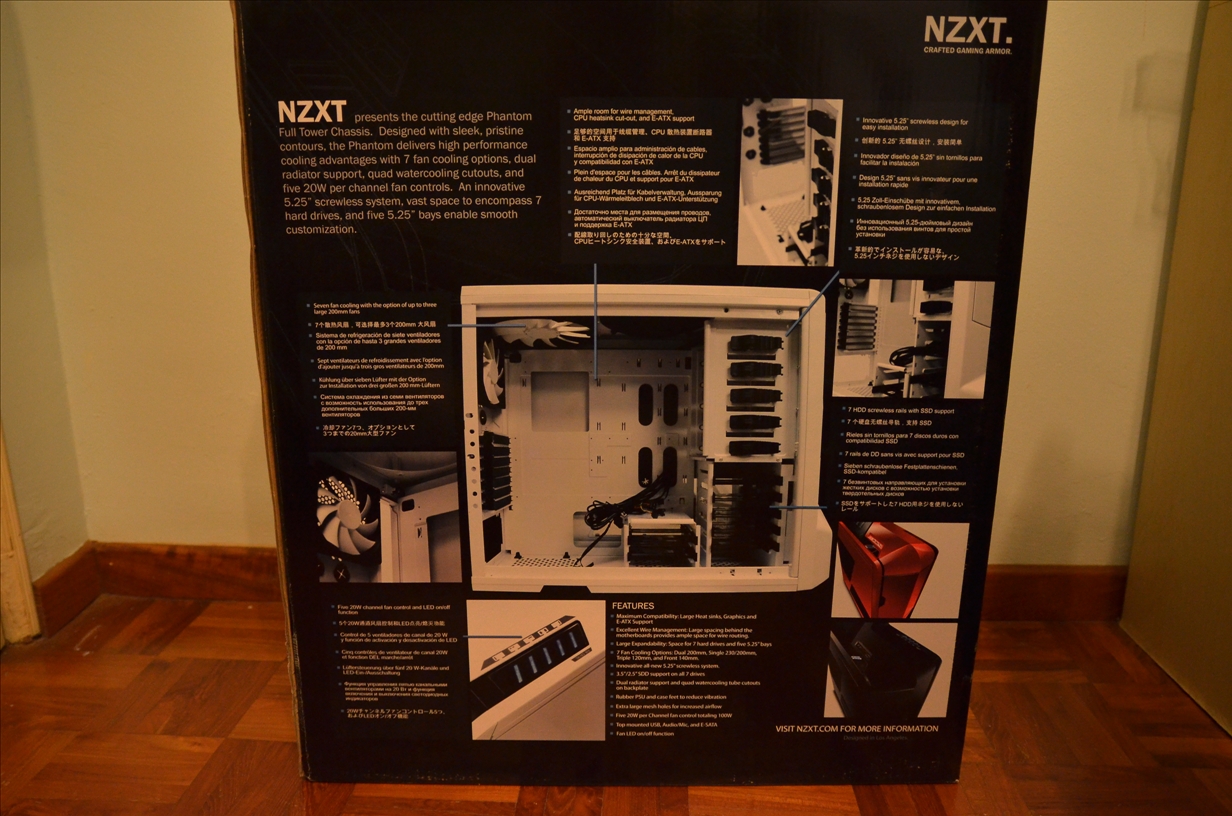
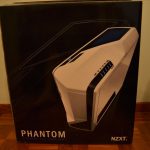
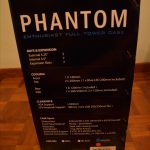
Let us now take a quick look at the retail packaging of the NZXT Phantom:
Case Exterior
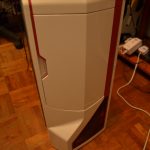
The aesthetic of the case is simply gorgeous. The glossy finish on the top and front really makes the case a beautiful and modern piece that stands out from the rest of the other casings. The white version does not really attract much finger prints and even if it does have a few prints on it, it is easy to clean off. I am unsure about the black version but I am thinking it would probably not be that much of a problem.
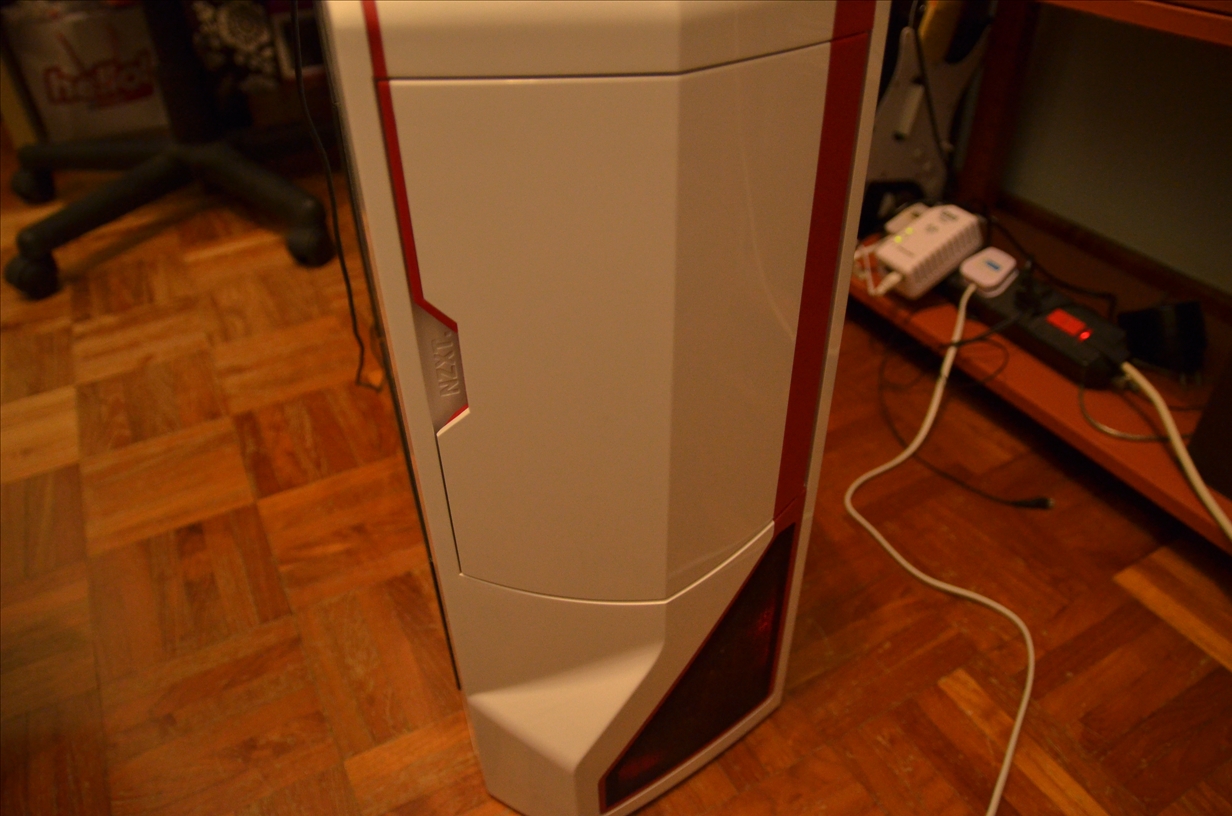
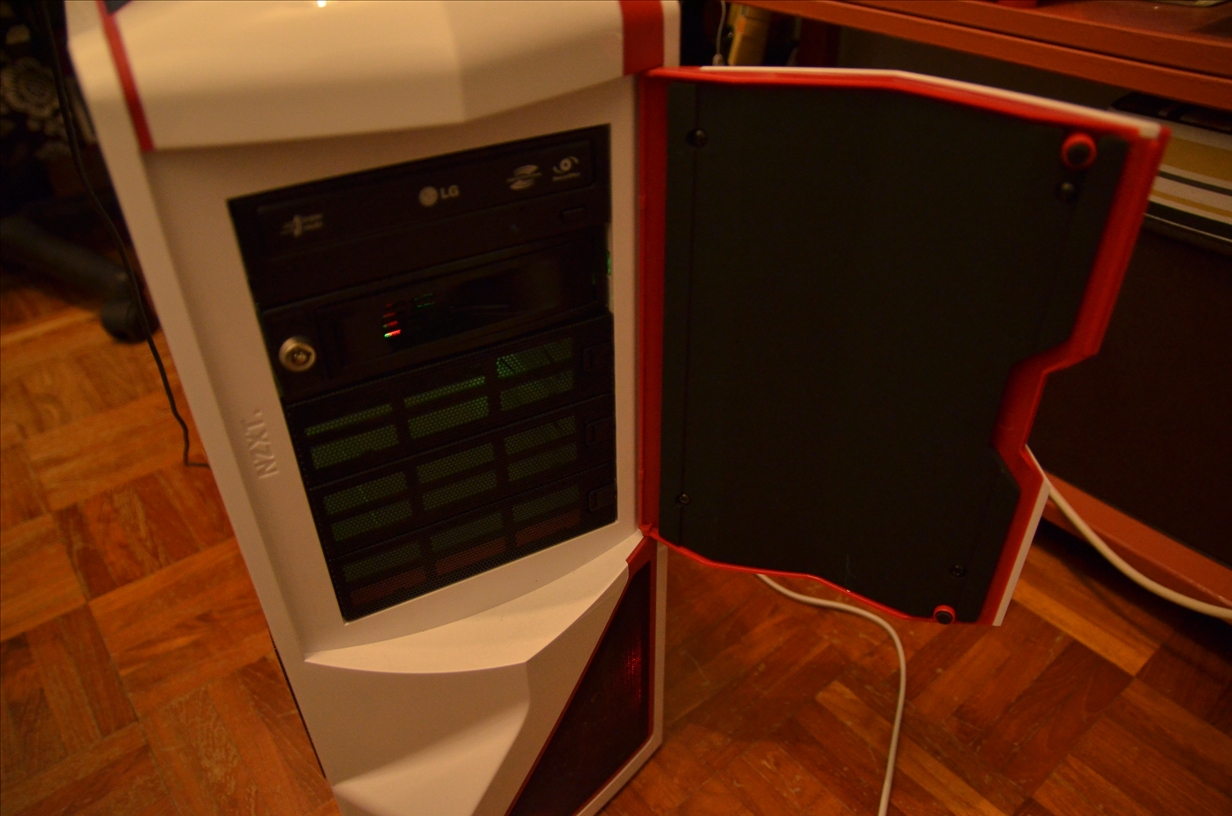
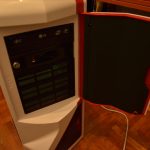
 As you can see, the front houses kind of a door that hides your external bays away when not in use. It uses a magnetic latch system that is strong enough so that the door provides some resistance to prevent it from swinging open at will. The bottom also features a mesh opening that allows air to move in or out through the use of a front installed fan.
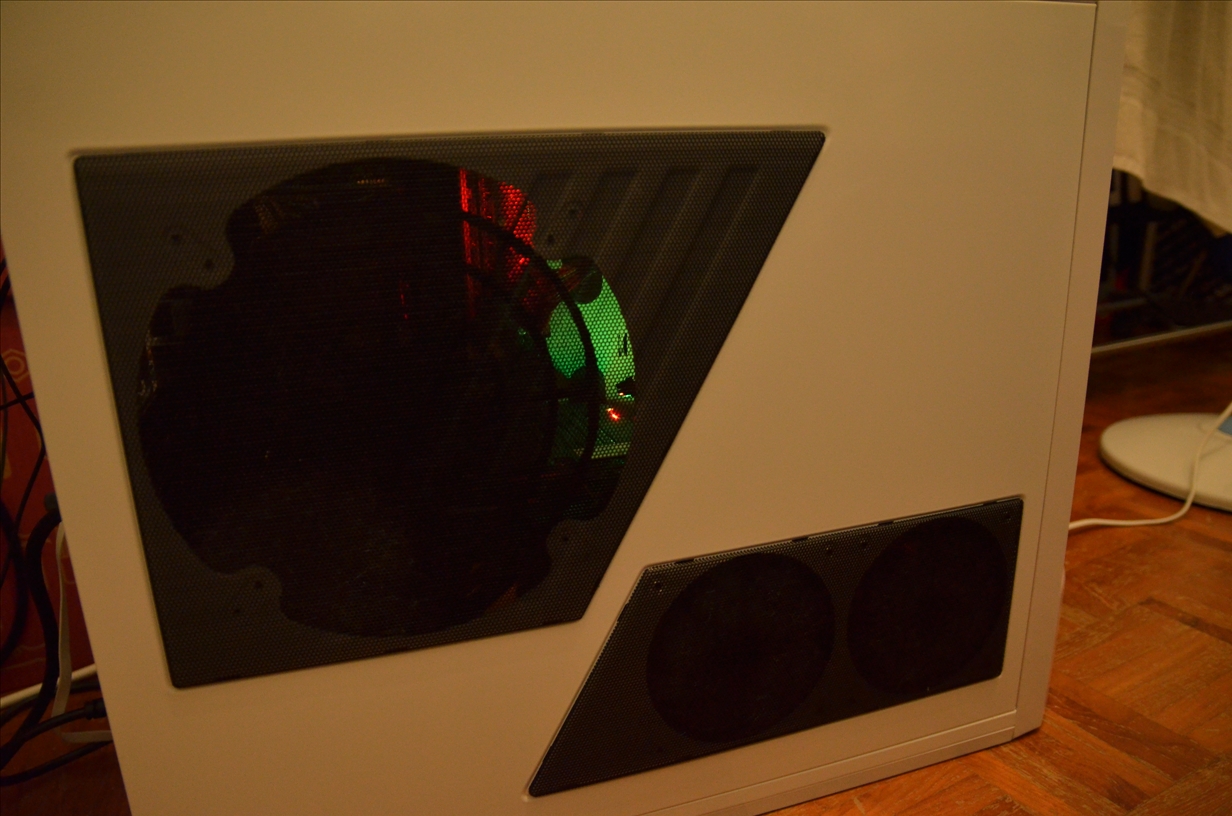
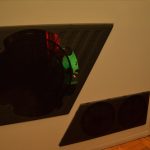
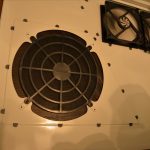
Here you can see the mesh areas which allow the movement of air via the 200/230mm fan or the 2x120mm fans at the bottom. The mesh panels can be seen through rather easily but the choice of a clear panel would be greatly appreciated as well.
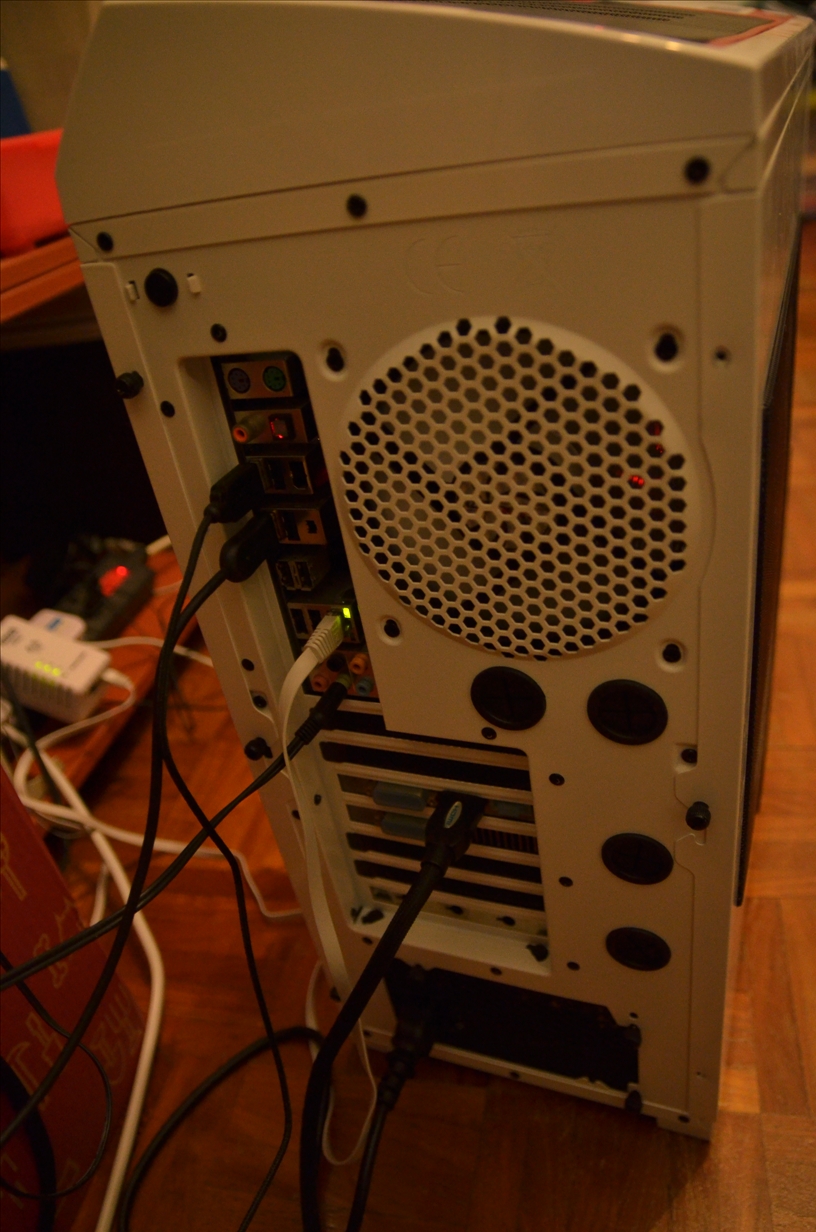
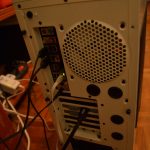
At the back you have 4 opening for tubes if you wish to run an external water cooling system or whatever you may see fit. The unique thing about the phantom is the button at the top left hand corner. This button is for you to turn off and on the LED of the top 200mm fans.
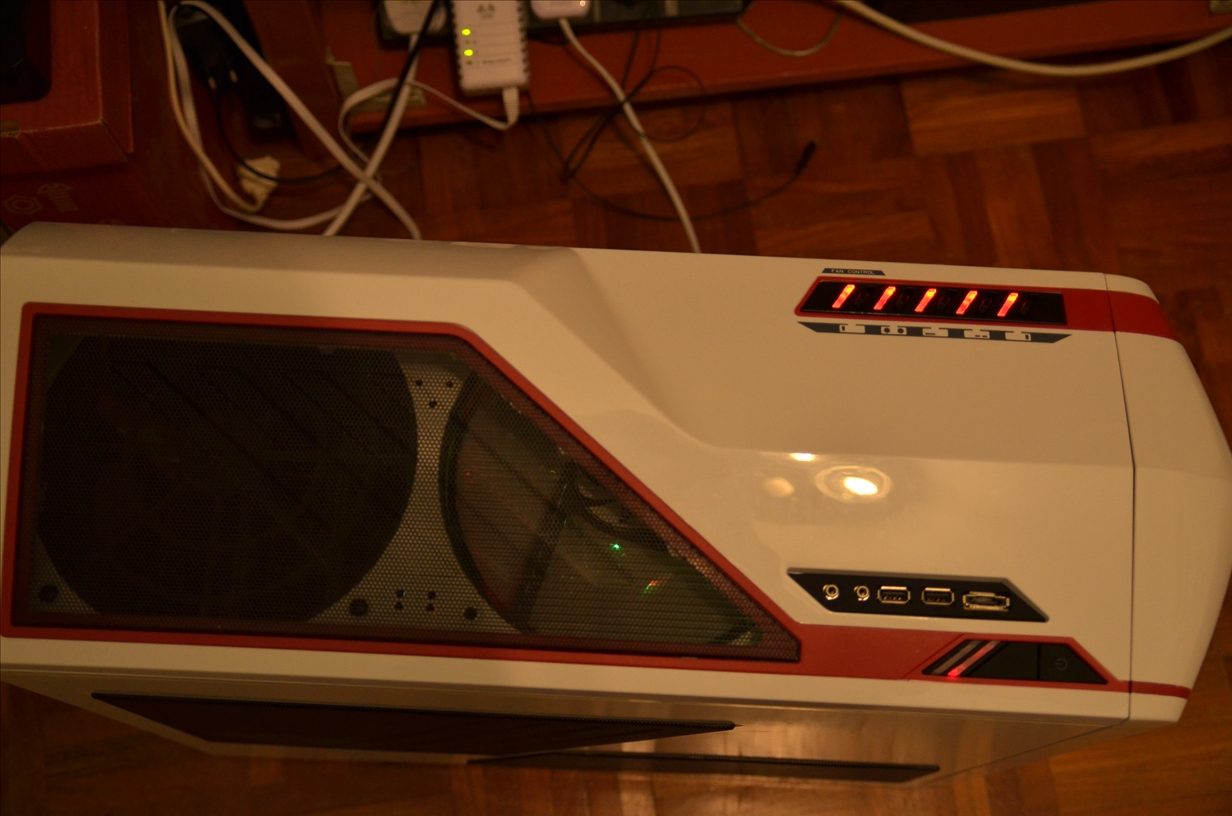
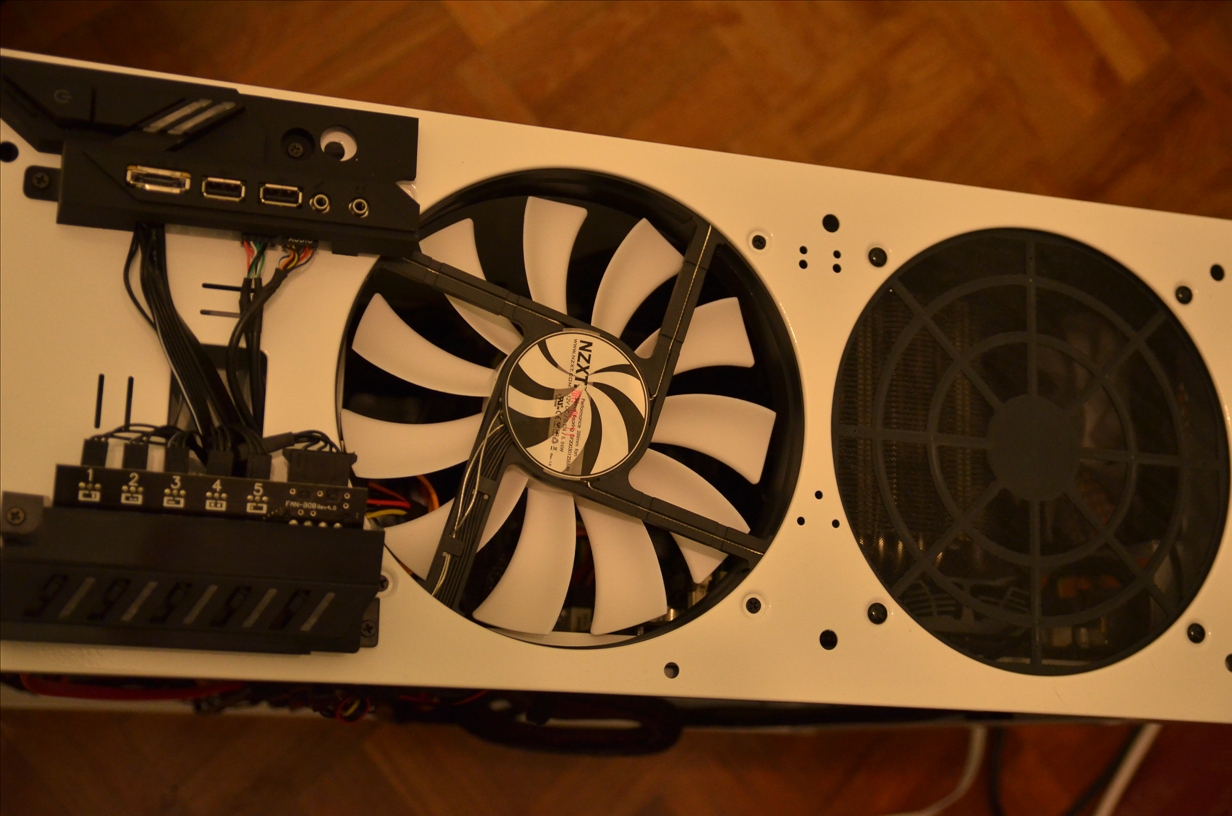
At the top you have your usual I/O panel. It features two USB 2.0 ports, one microphone and headphone port and lastly the esata port. A pity though that NZXT did not implement a USB 3.0 port even though at the time the case was manufactured, USB 3.0 is getting more and more common already. Nevertheless you can still have your USB 3.0 slots but other means of additional devices.
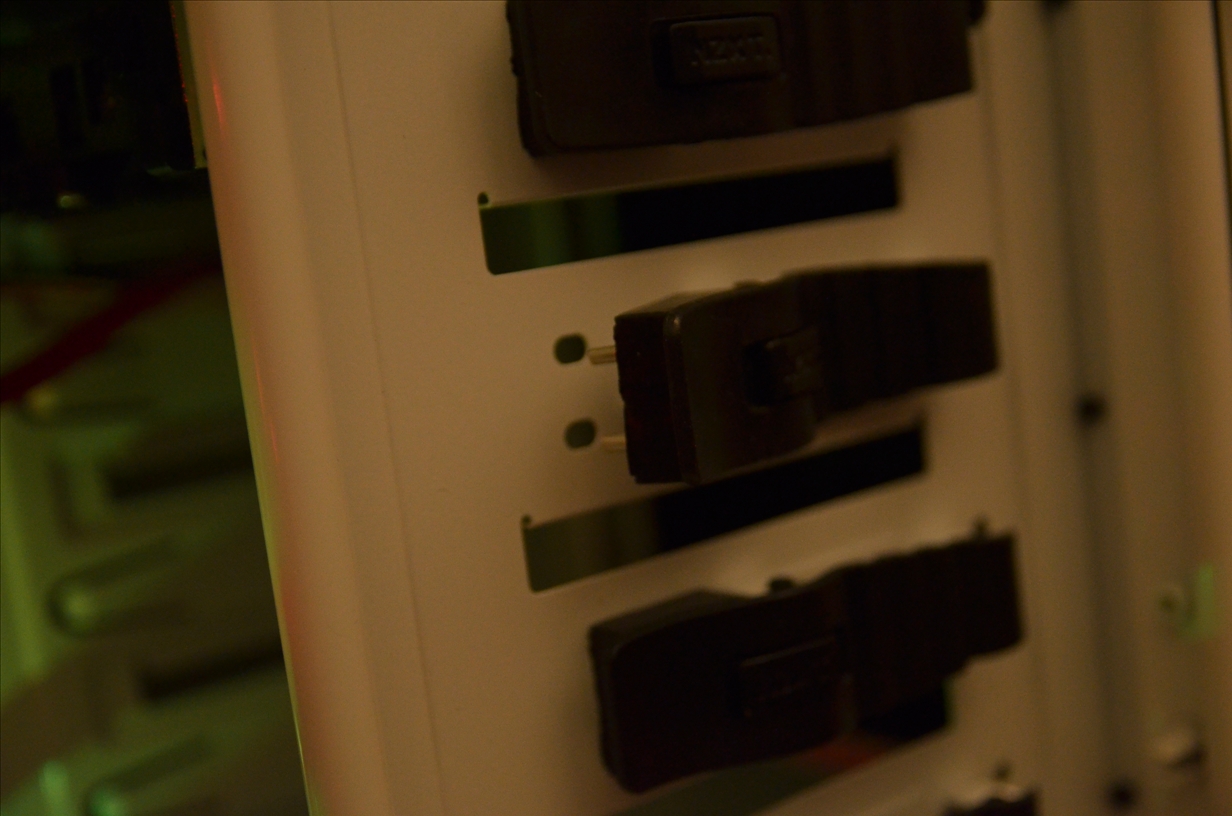
The phantom does have a competent fan controller built in. It allows control of 5 different areas of the case, mainly the front fan, the 2 side 120mm fans, the side 200/230mm fan, the two top 200mm fans and lastly the rear 120mm fan. However, this is not the limit of the number of fans you can control. You can use cable splits and so on and categorize whatever fans you want to control per switch. The fan controller is rated at 20W per switch and that is quite a bit of fans to put in order to overload the fan controller.
Case Interior
The inside of the case is spacious, very spacious. If you are like me and only run a air cooling system, there is plenty of room left after you fully load up your system. With that said, you can also run a decent water cooling system within the case as it provides many options and with slight modification here and there you can house an extremely cool system.
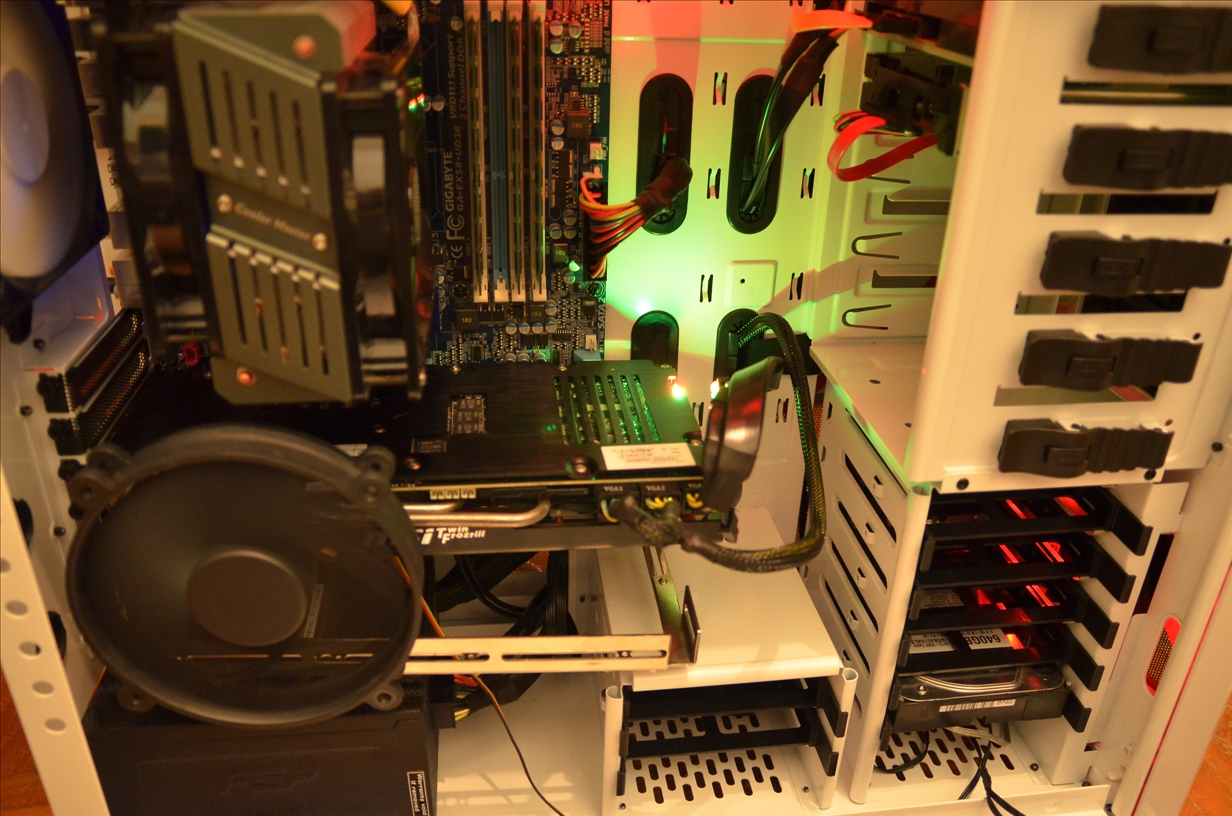
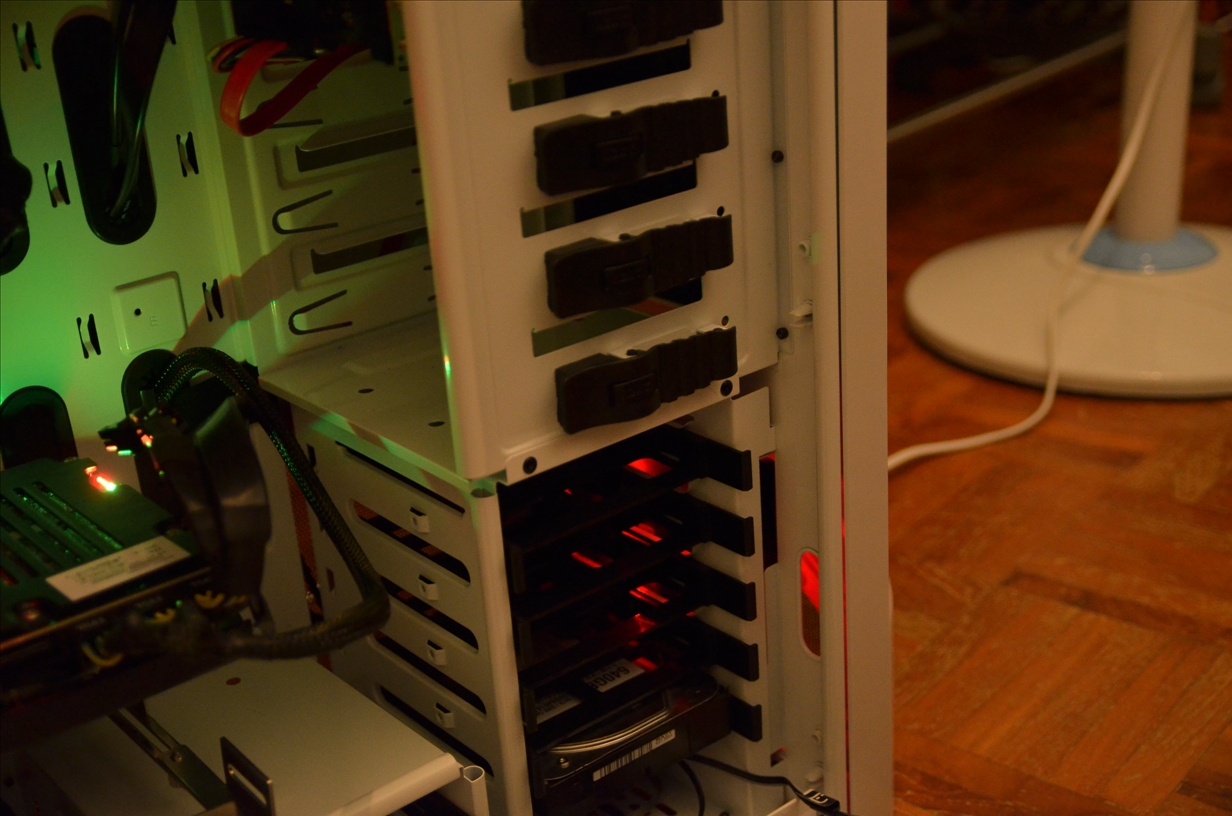
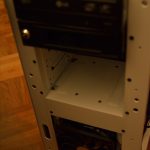
Here you can see the drive bays of the phantom. It features a tool-less design for both your hard-drives and your external bays.
You cannot really see how the tool-less design hold your external device within this picture but I can tell you it is something that you would most probably have not come across before. You simply unlock it and then push up. Not sure how to explain it but it works really well.
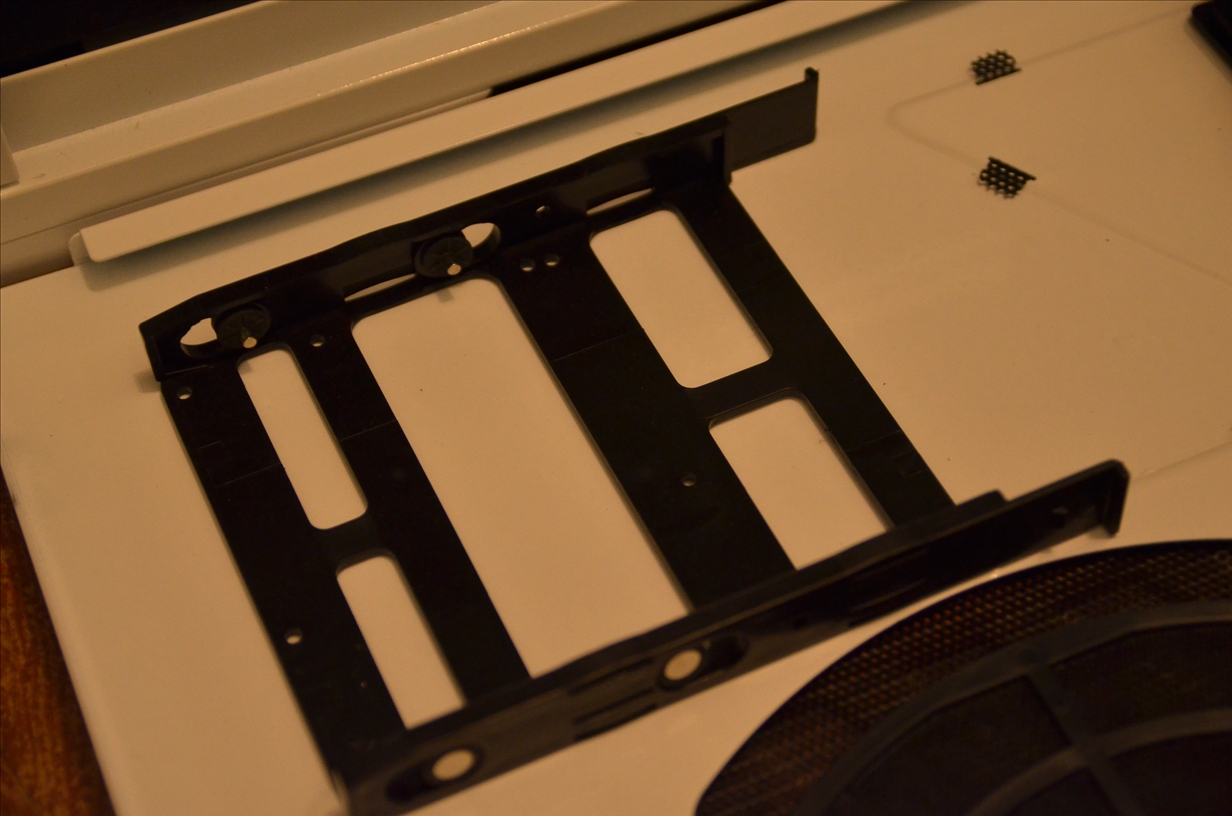
Another tool-less design for mounting on your hard drives and should you have the luxury of owning a SSD, you can use screws to mount it on the slot as well. Once you are done, simply slide it in.
You can mount an additional fan here in the external bay slot should you not fill it up already. It is useful I heard but that is only if you open the front door. Nevertheless the phantom allows for quite a bit of customizability and the installation of the fans here at the top and the front is really easy.
At the back the phantom features a rather spacious area for you to route your cables and hide them away from the eye. As you can see there are many rubber holes for you to push your cables through and I must say that managing cables in the phantom is extremely easy. The options are almost limitless with so many strategically placed holes and openings for cables to be passed through.
The Complete Build
Installing the different parts was really simple and easy. I have spent a mere hour or so to get everything in place. Cable management as mentioned previously is almost a breeze in the park with the amount of stuff I have within the system. It should not be a problem should you fully load the case with the maximum number of hard drives and so on as the case is simply huge inside.
The fan controller is really easy to use as the wires leading to the different switches are clearly labeled with awesome looking logos. You might, however, need to refer to the manual as some of the logos, as awesome as they are, are rather ambiguous. The fan controller works well and is definitely a pleasant feature to have. Whether is it controlling the fans to run at full speed in the hot afternoon or awaken the phantom at night, the fan controller gives you the ability to do so easily.
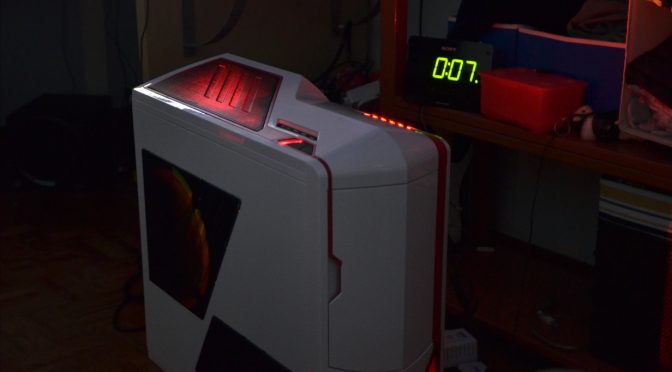
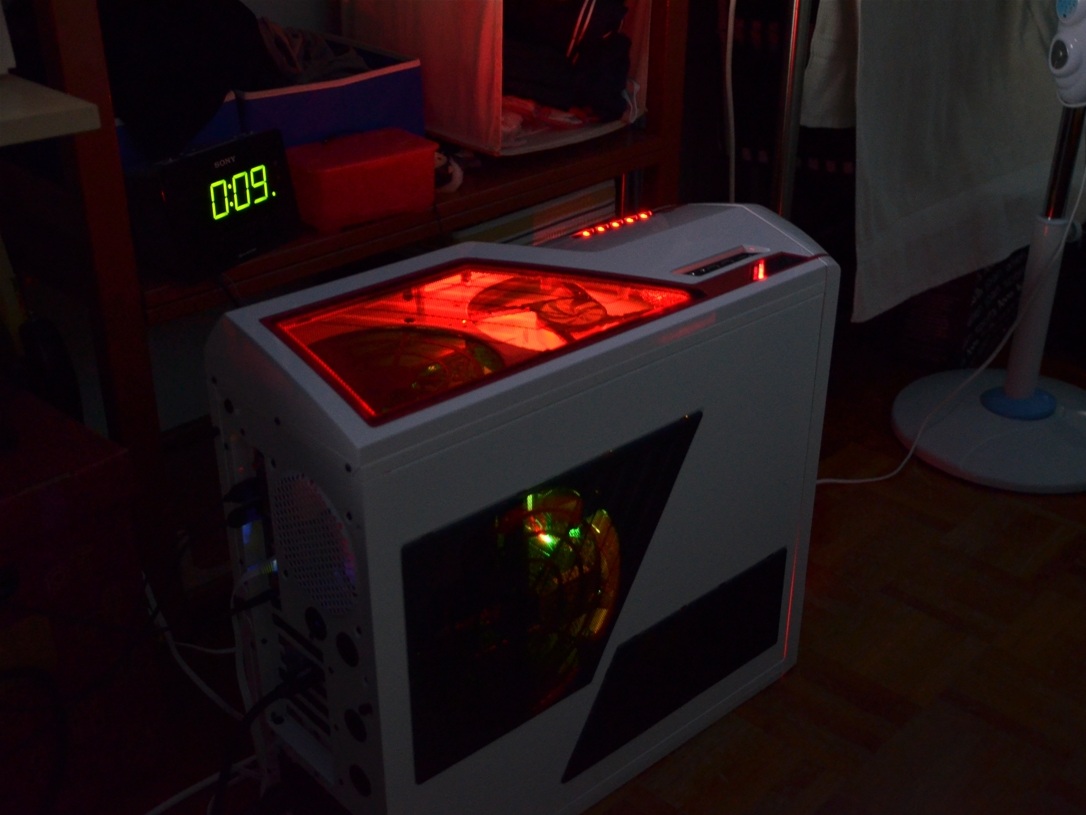
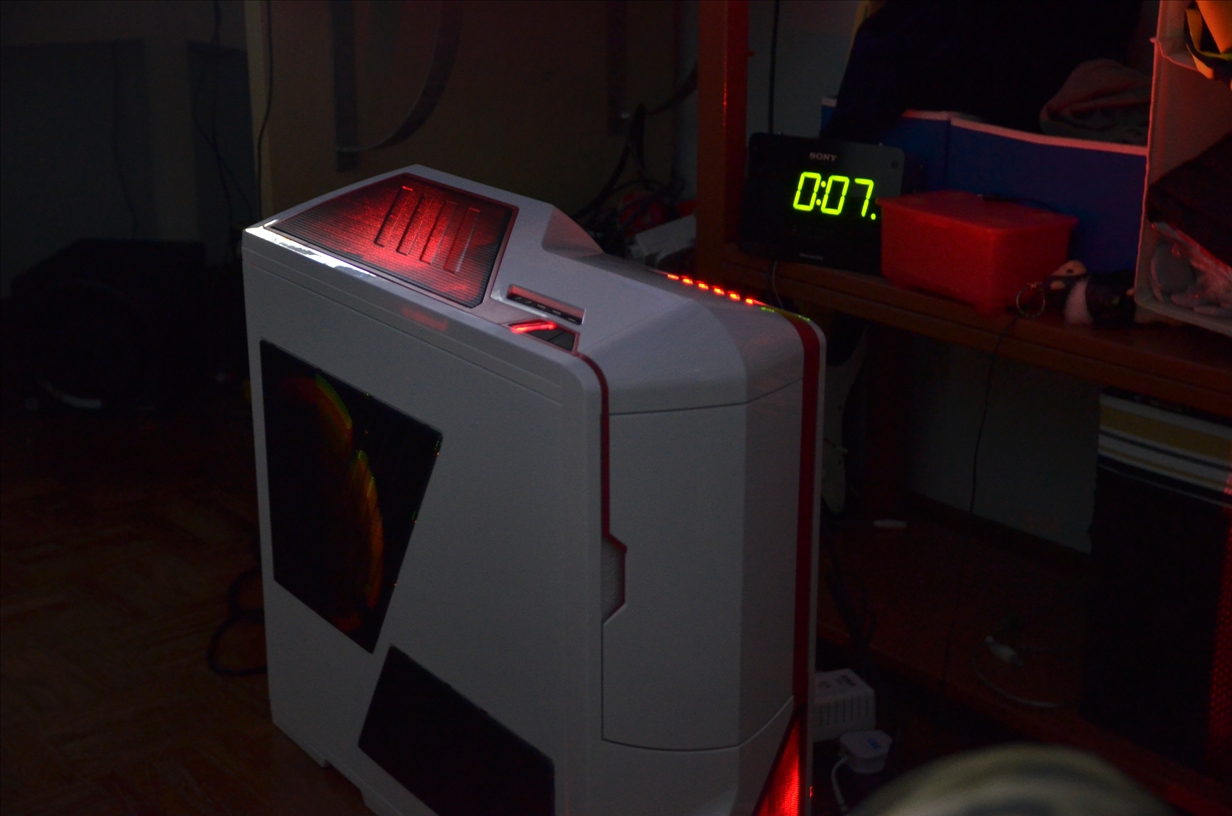
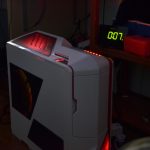
Here I have some pictures of how the phantom might look like when it is completely filled in with the necessary parts to run:
Simple Performance Tests
I am not so much of a professional hardware reviewer or tester thus the results you see here are simple tests that might be superficial and subjective to several factors. All I did was run full load of the different components to see how they fair. The room condition is “maintained†using an air-conditioner set at 26c. Tests run are Prime95 (smallfft) and Furmark burn in test. Each test will run for a minimum of 20 minutes to allow the case to reach the maximum heat exchange.
Here are the specifications of my system:
CPU: Intel i7 920 D0 @ Stock Settings
Motherboard: Gigabyte X58-UD3R Rev 1.0
RAM: 3 x 2GB Kingston DDR3 1333mhz
CPU Heat Sink: Prolimatech Megahalems Rev B with one Push fan
Graphics Card: MSI GTX 480 Lightning with auto fan settings
Hard Drive(s): 640gb Western Digital Caviar Black
Power Supply: FSP Aurum CM 650w
Phantom casing mounted fans:
Front: 1 x 120mm fan (Intake)
Side: 2 x 120mm fan and 1 x 140mm fan using PCI Slot Add-on (Intake)
Rear: 1 x 120mm fan (Exhaust)
Top: 1 x 200mm fan (Exhaust)
All fans are running at max speed.
Here are the results:
Final Thoughts and Conclusion
Overall the NZXT Phantom is a fantastic case with an exterior that is simply magnificent. Looks however, is highly subjective so I would suggest that if possible, take a look a few more pictures that others have captured or best, look at case in person. I really like the shiny glossy finish on the case and it gives a more modern kind of feeling. I know of people liking cases with industrial rugged looks and if so, I do not think the phantom might be suitable for you but who knows? The phantom might just change everything.
The option of a clear acrylic panel at the side is something I hope will be given as an option in the future. I really like looking into the computer and it also allows for people to showcase some really awesome components or beautiful lighting features. The built in fan controller is a really nice feature to have and even more so as even with all those high-end looking fan controllers, you will not be able to appreciate it as the phantom’s door is always closed by default. The LED lights add up to the appearance of the case and in the night with proper additions to the case it will be one mean looking phantom.
The major problem of the case is the side panel fan and the Heat Sink fan clearance. It is a huge problem to the point that it is a design flaw to me (according to some reading there is a newer revision that adjusts the mounting of the side fan to allow for bigger coolers to be installed at the same time). Why? The side mounting holes are specific for the NZXT 200mm fans. What this meant is that you cannot mount other 200mm fans without slight modification such as the use of the rubber screws or zip ties. And if you were to mount a 200mm fan there (with the fan filter), the CPU heat sink fan clearance is slightly less than 160mm. Go figure what that means. It is terrible, simply terrible and I do hear that the side fan does do quite a bit in terms of bringing down the temperature for the case especially the graphics card. You either sacrifice your CPU heat sink fan or the side panel fan. I really do not know what NZXT engineers were thinking then. They either give the option of a smaller fan, or simply push the 200mm down. Did they ever think about how little the clearance is with their 200mm fan? I have no idea.
Other than that the case is near perfect for me. Cable management is really very superbly easy whether you have a modular or non-modular power supply. The graphics card clearance is huge enough for the top-end cards to be installed within the system. The stock fans provided are really quiet and push a decent amount of air to allow the flow within the system to be optimum. Lastly, I have to complement the aesthetic of the Phantom again and again and all over again. It is gorgeous and really beautiful. Pretty on the outside, awesome in the inside.
Pros:
- Beautiful modern appearance
- Excellent cable management options
- Spacious interior
- Decent built-in fan controller
- Tool-less kits work well
Cons:
- Restrictive CPU Heat Sink clearance with side 200mm fan (and the fan does help in reducing temperature)
- Glossy finish does attract some fingerprints
- Plastic might not feel right for some
- Lack of USB 3.0 ports










One thought on “NZXT Phantom Review”